
VOIP LAB DAY 8 Configuring the SIP setting on the PBX
Welcome back to My VOIP LAB. Today we will continue the configuration of PBX in a Flash to act as PSTN gateway for Skype for Business.
After you enabled TCP on the PBX by editing /etc/asterisk/sip.conf file connect to back to the GUI admin using your browser. Navigate to Settings, Asterisk SIP Setting. Whenever you change setting on GUI, you need to click on submit change at the bottom and click on Apply Config .

In the General SIP setting, enter your subnet info. If your home network is on 192.168.0.0 with netmask of 255.255.255.0 it would be 192.168.0.0/24, if 255.255.0.0, it would be 192.168.0.0/16.

Navigate to Chan_SIP setting and enter the following configuration. Note: Select NAT=yes and Public IP.
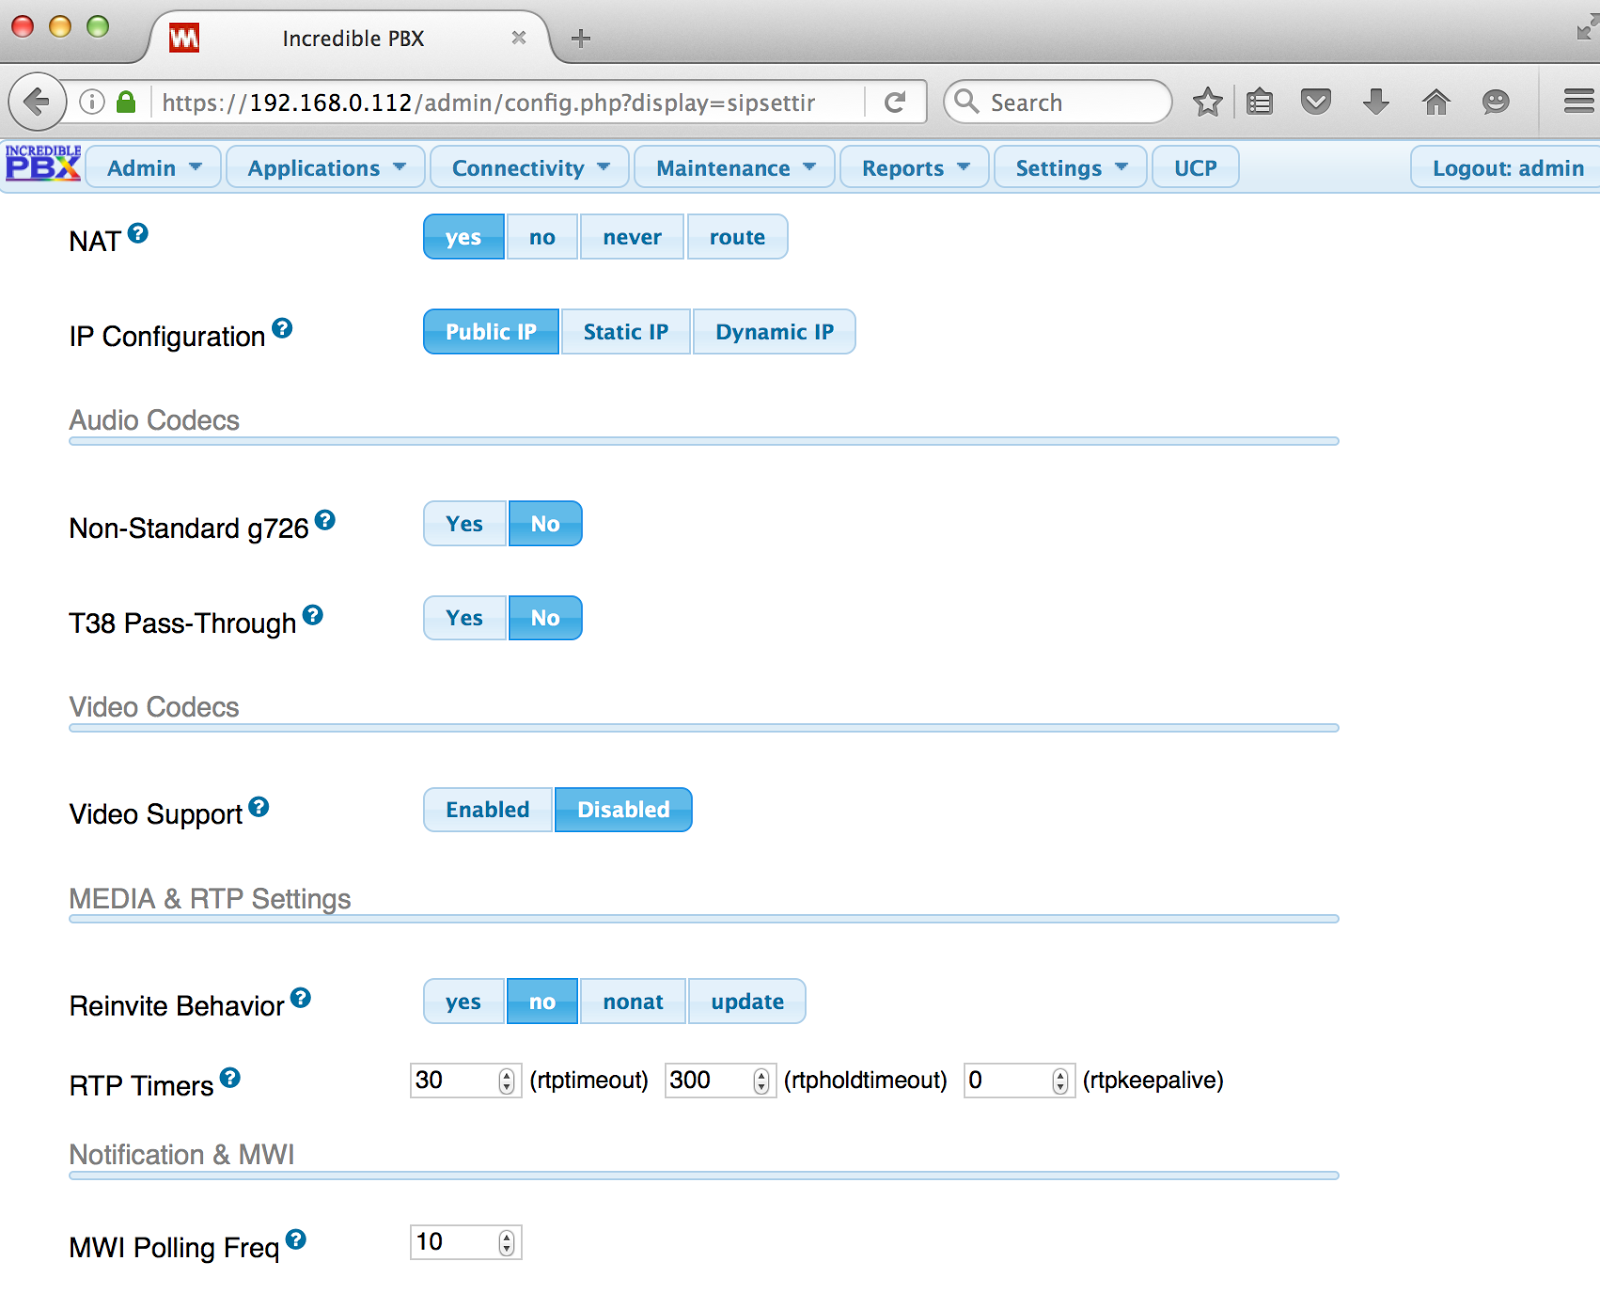

Navigate to CHAN_PJSIP setting and enter the following .

Now it is time to create an extension. For Skype/Lync admins, extension can be understood as an account.. extension is the unique number with a password, or SIP secret as it is called. Navigate to Applications, Extension on the adim GUI.

Select Generic PJSIP device and slick submit. On the next screen, all you need to enter is Extension, Display Name and Secret. After you enter those 3, Submit and Apply Config.

Now you can log into the PBX with your soft phone. I am using Zoiper in this example.

You should be able to create additional extension and make call to each other at this point.

No comments:
Post a Comment